You've driven past your own house a hundred times and still can't decide if that brick needs painting.
Maybe the roofline feels dated, or the siding color has never quite worked with the landscaping.
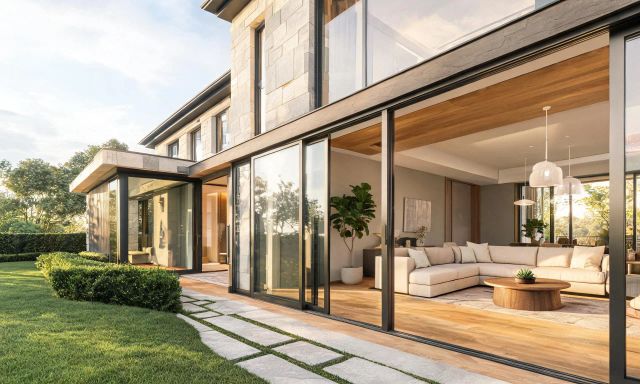
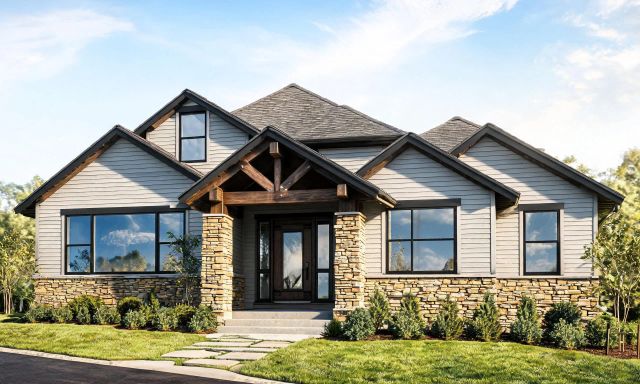
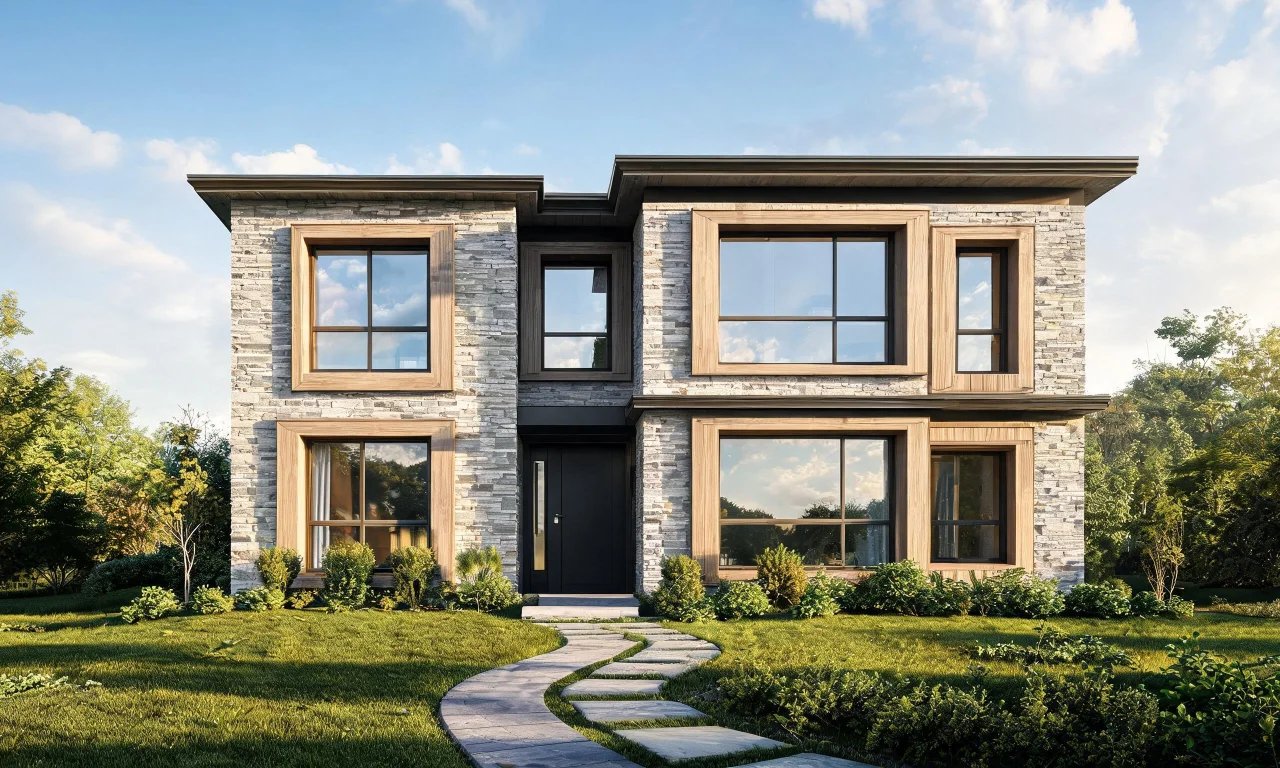
In 2026, ai exterior design tools let you test facade changes on a real photo of your home before touching a single brick.
This guide walks through the full process, from photo prep to spotting common mistakes.
Key takeaways
- Good source photos matter more than clever prompts, so shoot straight-on in even daylight.
- Pick a facade style before you start generating, not while you're generating.
- Specific prompts about material, color and roofline beat vague style requests.
- Free tools cover facade restyling and clearing outdoor clutter; paid tiers unlock swapping exterior features.
- Always compare structural details in before and after images, not just color changes.
Prepping Your Exterior Photos
Your starting photo sets the ceiling for how convincing the final render will look.
A blurry, angled shot taken at dusk gives any AI tool very little to work with.
Aim for a photo taken straight-on, in daylight, with the full facade visible from foundation to roofline.
What Makes a Usable Exterior Photo
- Shoot during overcast daylight or soft morning light to avoid harsh shadows.
- Stand far enough back to capture the whole facade, including the roofline.
- Avoid parked cars, garbage bins or hoses blocking key architectural features.
- Keep the camera level rather than tilted upward from a low angle.
Pro tip
If your house has a complex facade, take two or three angles. You can test each one separately and compare which renders most convincingly.
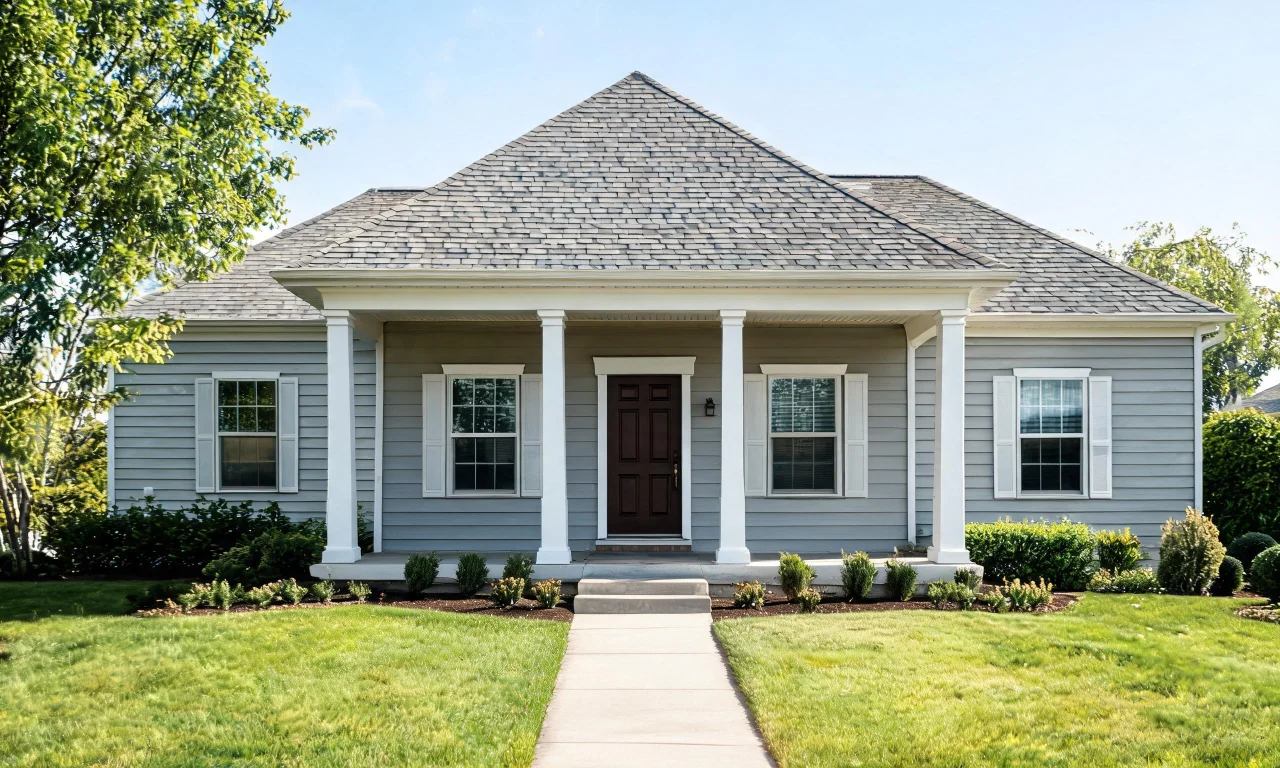
Once you have a clean photo, you're ready to start exploring styles rather than committing to one blindly.
Choosing a Facade Style
Picking a direction before you open any tool saves you from generating dozens of unfocused variations.
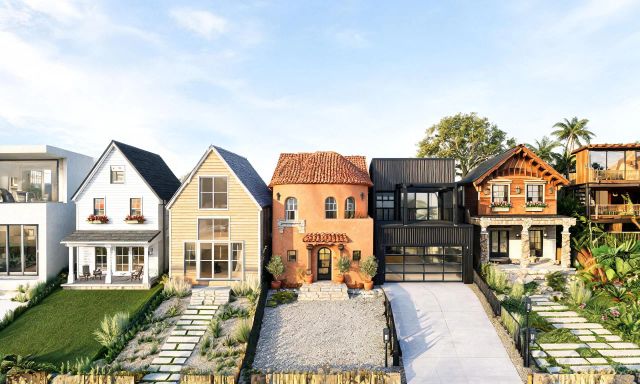
Common facade styles include modern farmhouse, coastal, craftsman, Mediterranean and contemporary minimalist.
Each style has recognizable cues: siding material, trim color, window shape and roof pitch.
Browsing real examples helps you describe what you want more precisely later.
The community gallery is a useful place to see finished exterior redesigns from other homeowners before you start your own.
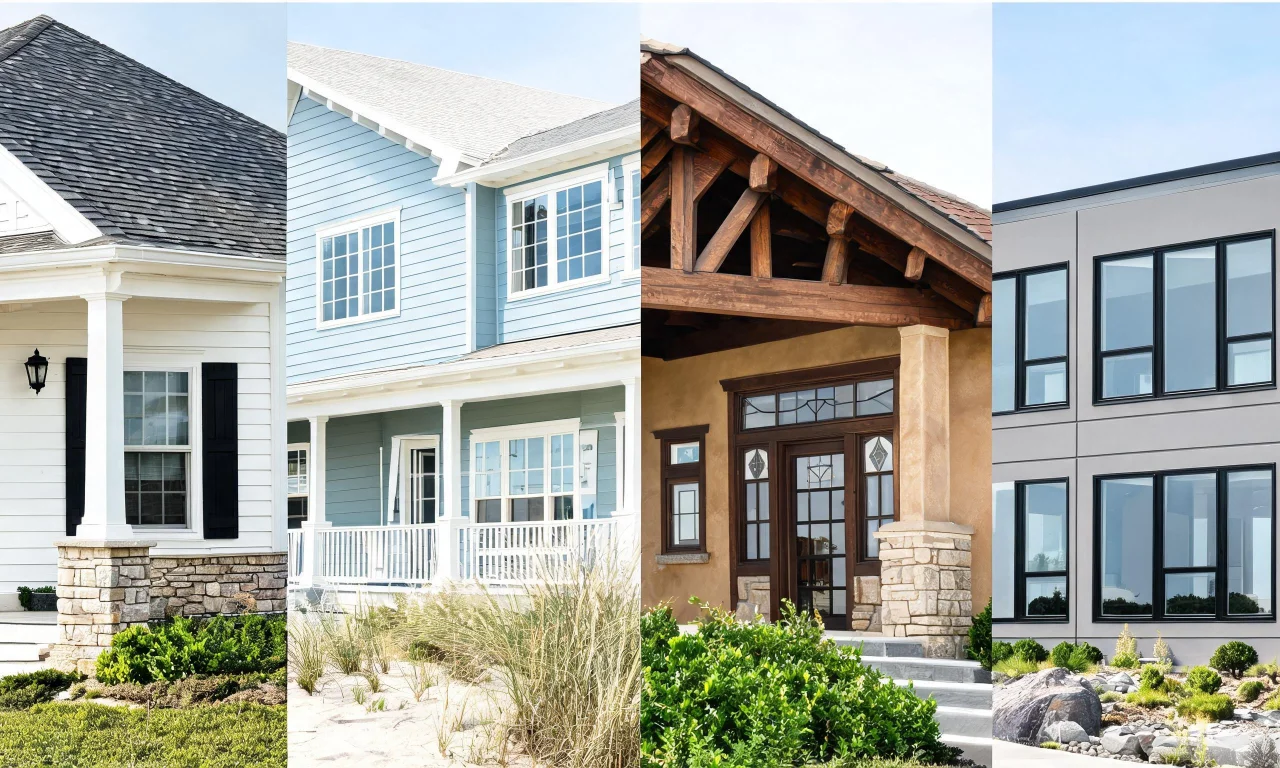
With a style shortlist in hand, the next step is turning that into an AI prompt.
Writing Effective AI Prompts
Vague prompts like "make it modern" produce vague, generic results.
Specific prompts that name materials, colors and architectural elements produce results you can actually evaluate.
A Simple Prompt Structure
- Name the style: "coastal modern facade."
- Name the primary material: "white board-and-batten siding."
- Name the accent details: "black window frames, natural wood front door."
- Name the roof if you want it changed: "dark grey standing-seam metal roof."
Stacking these details into one sentence gives the tool clear direction instead of open-ended guesswork.
You can explore the full range of restyling options inside vividoo's AI design tools before settling on a prompt structure that suits your home.
Pro tip
Generate three prompt variations on the same photo. Small wording changes often shift the result more than you'd expect.
Adjusting Materials and Colors
Once you have a base render, the real work is fine-tuning specific surfaces.
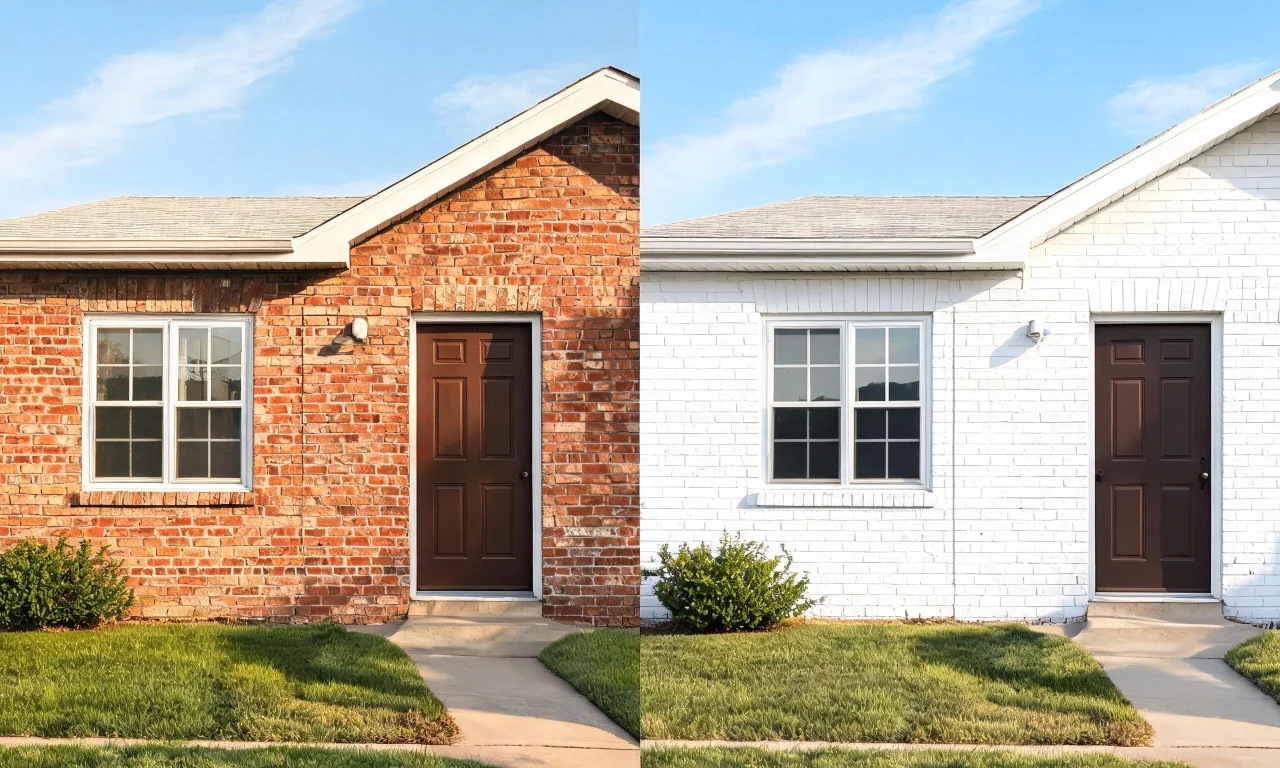
This is where you swap siding tones, test brick versus stucco, or try a different front door color.
Small material swaps often matter more to resale appeal than a full style overhaul.
vividoo's free AI exterior redesign tool covers facade restyling on the free plan, letting you test color and material changes without commitment.
If you need to add or replace specific exterior features like shutters, railings or lighting fixtures, that level of detail sits on vividoo's Pro plan rather than the free tier.
Pro tip
Change one variable at a time, siding then trim then roof. It's much easier to judge what actually improved the look.
Comparing Before and After Results
A convincing exterior render isn't just about a new color, it's about whether the structure still looks like your house.
Check that window placement, roofline shape and proportions match the original photo.
If the AI has reshaped a window or shifted the roof pitch, that's a red flag worth noting.
How the Main Approaches Compare
| Approach | Typical cost | Speed | Best for |
|---|---|---|---|
| DIY sketching or paint swatches | Low cost, just time | Slow, trial and error | Rough early ideas |
| Hiring a rendering artist | Higher cost per render | Days to weeks | Final client presentations |
| Generic photo editing software | Free to moderate | Fast, but manual | Simple color tweaks |
| ai exterior design tools | Free to low-cost plans | Minutes per variation | Fast style comparisons |
Once you find a version that keeps the structure intact and matches your style shortlist, save it and step back for a day before deciding.
You can also test a fully empty version of your exterior first using the AI empty room generator, which works on outdoor spaces too, before adding new landscaping or features.
Common Mistakes to Avoid
Most disappointing AI exterior renders trace back to a handful of avoidable habits.
- Using a low-angle or shadowed photo, which limits how accurately materials render.
- Writing one-word style prompts instead of naming materials and colors.
- Ignoring structural mismatches between the original photo and the render.
- Generating dozens of variations without a style direction chosen first.
- Skipping a side-by-side comparison before making real renovation decisions.
Pro tip
Keep a folder of every render you generate. Reviewing them together often reveals which single change made the biggest visual difference.
For more step-by-step guides like this one, the vividoo blog covers both interior and exterior workflows in detail.
If you'd rather work through options interactively, the design studio is a good next stop after finishing this guide.