You upload a photo of your living room, type a few words, and the result looks nothing like what you imagined.
That gap usually comes down to the prompt, not the tool.
Learning to write clear ai room redesign prompts turns generic, forgettable output into something you would actually choose for your own home.
This guide walks through exactly how to structure those prompts, one step at a time.
Key takeaways
- AI room redesign works from two inputs: your photo and your written prompt.
- Style names alone are not enough; mood, lighting and material details shape the result.
- Vague prompts produce vague, inconsistent redesigns almost every time.
- Follow-up prompts let you refine one element without restarting the whole image.
- A saved prompt template speeds up every future redesign attempt.
Understanding What AI Room Redesign Needs as Input
AI room redesign tools work from two inputs: your photo and your prompt.
The photo sets the room's shape, windows, and fixed architectural features.
The prompt tells the model what to change, what to keep, and how far to push the transformation.
What the photo already communicates
A wide, evenly lit photo gives the AI more real detail to work from.
Dim, cluttered, or heavily angled shots leave more guesswork, and that guesswork shows up as odd, inconsistent results.
What the prompt needs to add
Your prompt fills in everything the photo cannot show: intent, style, and priorities.
- The design style you want, named specifically
- A color palette or dominant tones
- The lighting mood you are going for
- Materials or finishes to introduce
- Anything fixed that must stay untouched
The AI Room Redesign tool uses exactly these two inputs, so a stronger prompt directly means a stronger output.
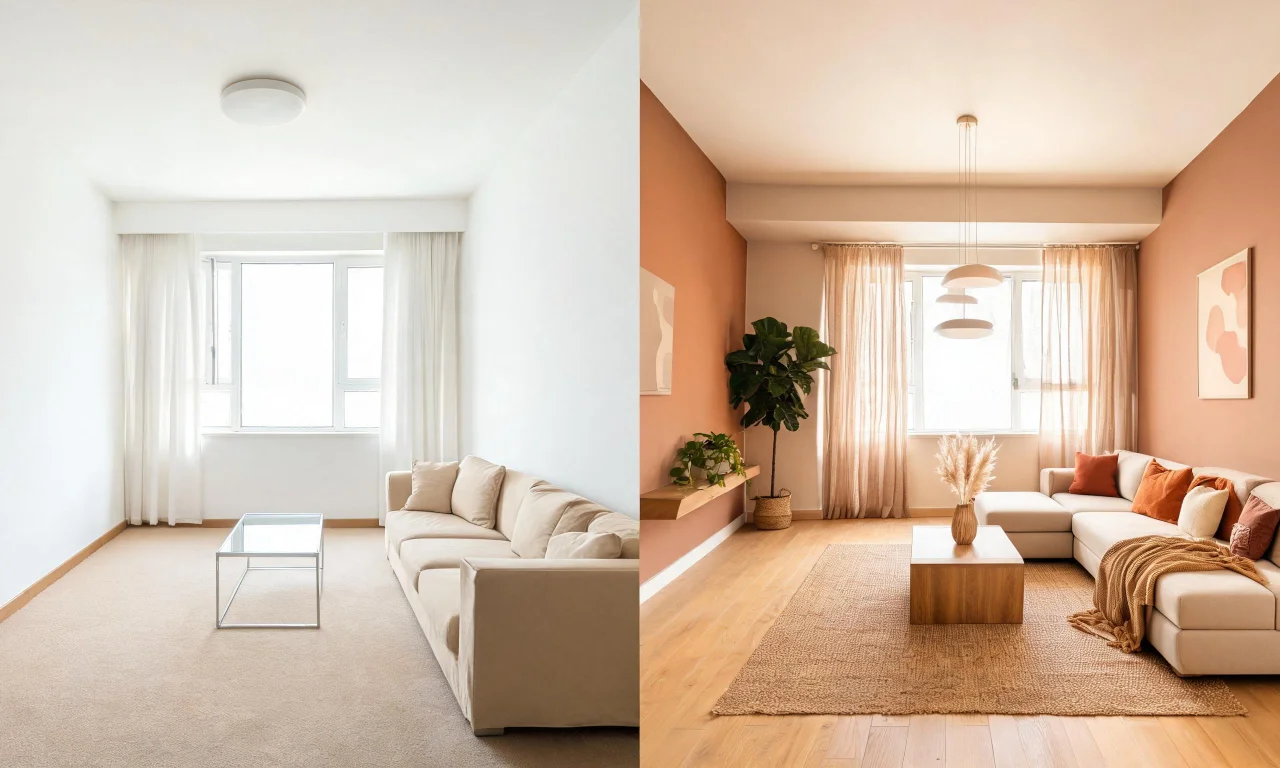
Writing Detailed Style and Mood Prompts
Style names are a starting point, not a finished prompt.
"Modern" or "cozy" mean different things to different people, and the AI needs more specificity than that.
Naming a design style precisely
Instead of "modern," try "Scandinavian modern" or "warm minimalist."
Instead of "farmhouse," try "modern farmhouse with black window frames."
Describing mood and atmosphere
Mood words guide tone in ways style names alone cannot.
Words like calm, airy, dramatic, or grounded shape how the space feels, not just how it looks.
Pro tip
Pair one style word with one mood word every time. "Coastal, relaxed" reads very differently to the AI than "coastal, formal."
Different levels of prompt detail produce noticeably different results, as shown below.
| Prompt approach | Example | Typical result | Best for |
|---|---|---|---|
| Minimal | "Modern living room" | Generic, safe, often repetitive across attempts | Quick first impressions only |
| Style-only | "Japandi style living room" | Closer, but lighting and materials vary widely | Early exploration |
| Fully structured | "Japandi style, warm oak tones, soft diffused daylight, linen textures" | Consistent, controllable, closer to intent | Final direction and refinement |
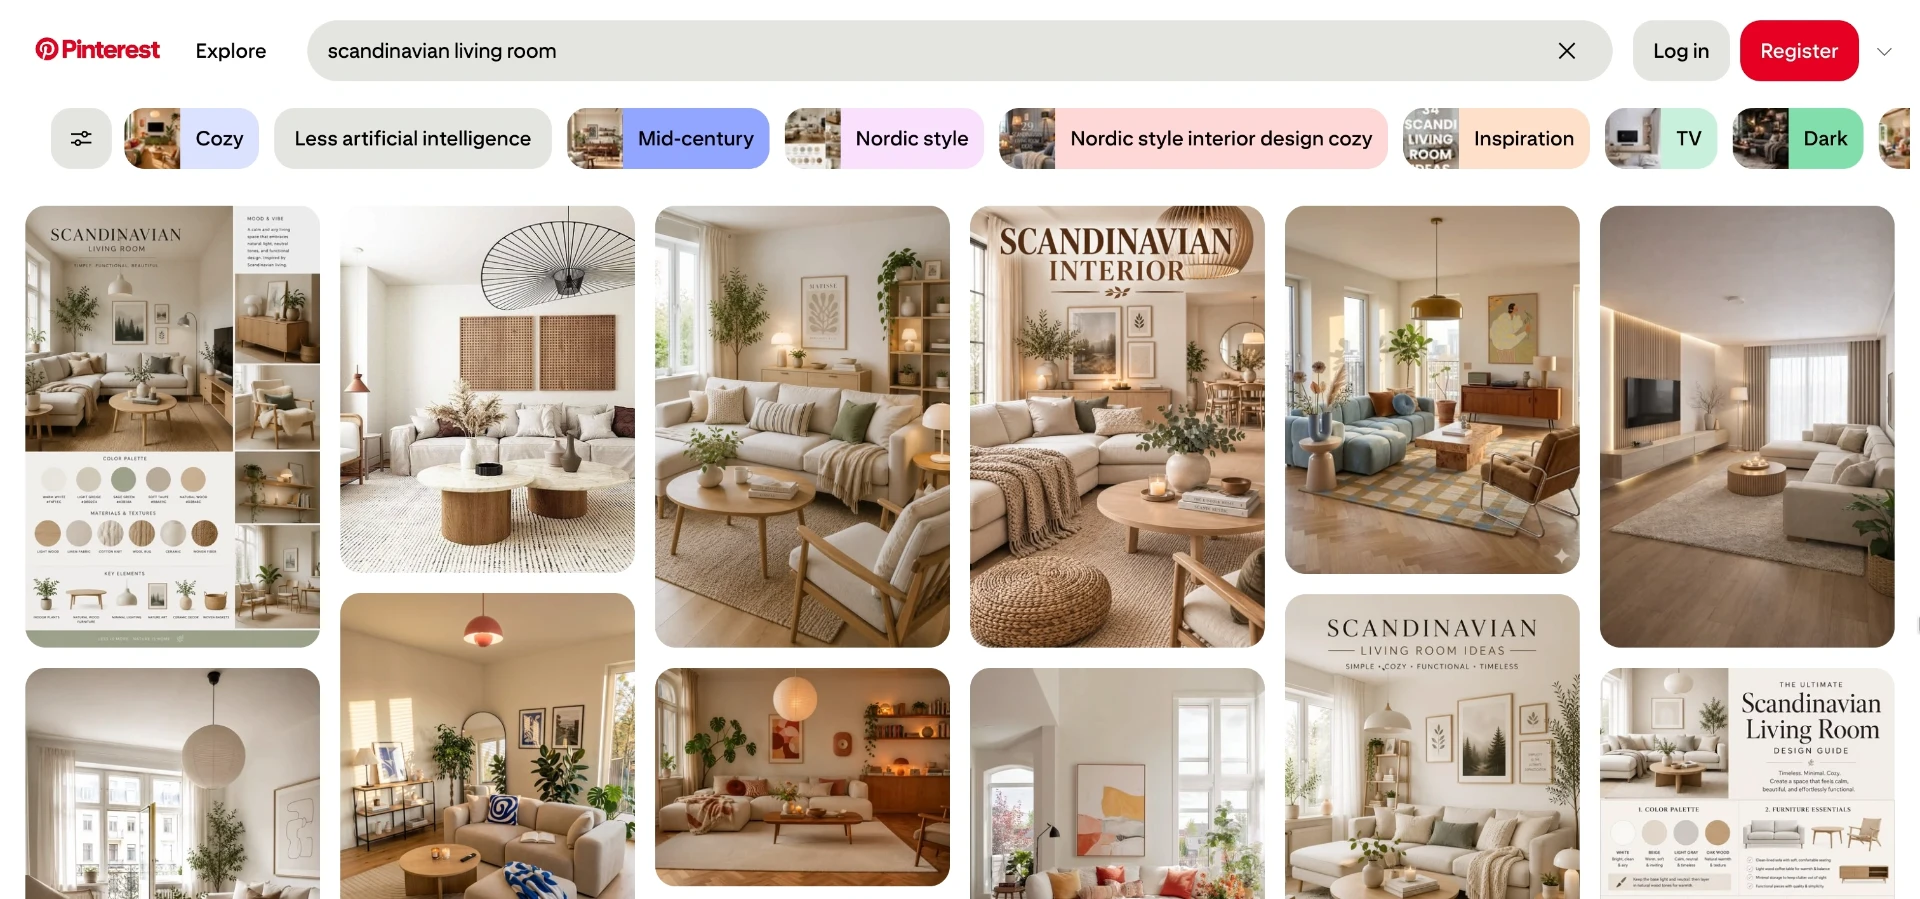
Mood boards can help you find the words before you even open the tool.
Specifying Lighting, Color and Material Preferences
Lighting, color, and material are the three details that separate a flat result from a convincing one.
Skip any of them and the AI fills the gap with its own default assumptions.
Lighting
Describe the light source and time of day, not just "bright" or "dark."
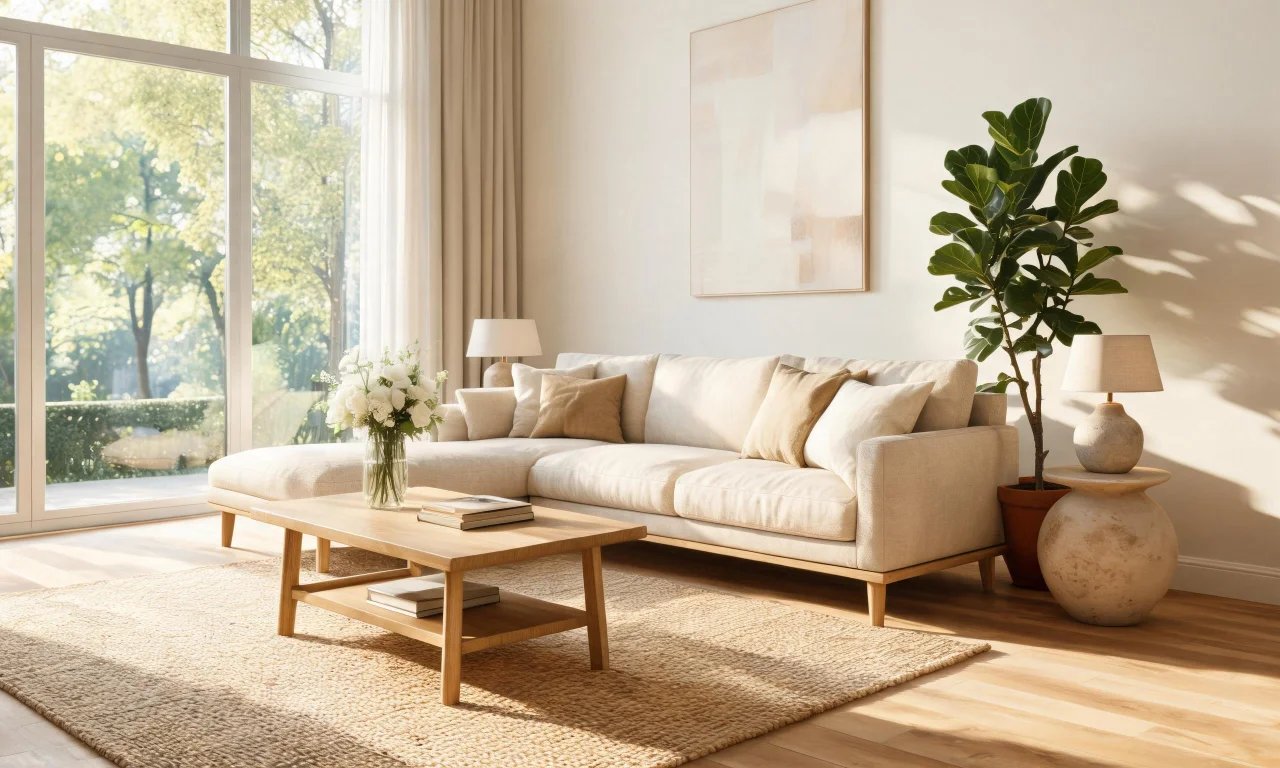
"Soft morning light through sheer curtains" gives far more direction than "bright room."
Color
Name two or three dominant tones rather than a whole palette.
"Warm terracotta and cream, with black accents" is easier for the AI to apply than a long color list.
Material
Mention textures the AI should introduce, like oak, linen, brushed brass, or matte plaster.
Materials do more to sell a style than color alone.
- Lighting: "warm evening lamp light" vs "cool overhead daylight"
- Color: "sage green and warm wood tones"
- Material: "boucle upholstery, natural stone accents"
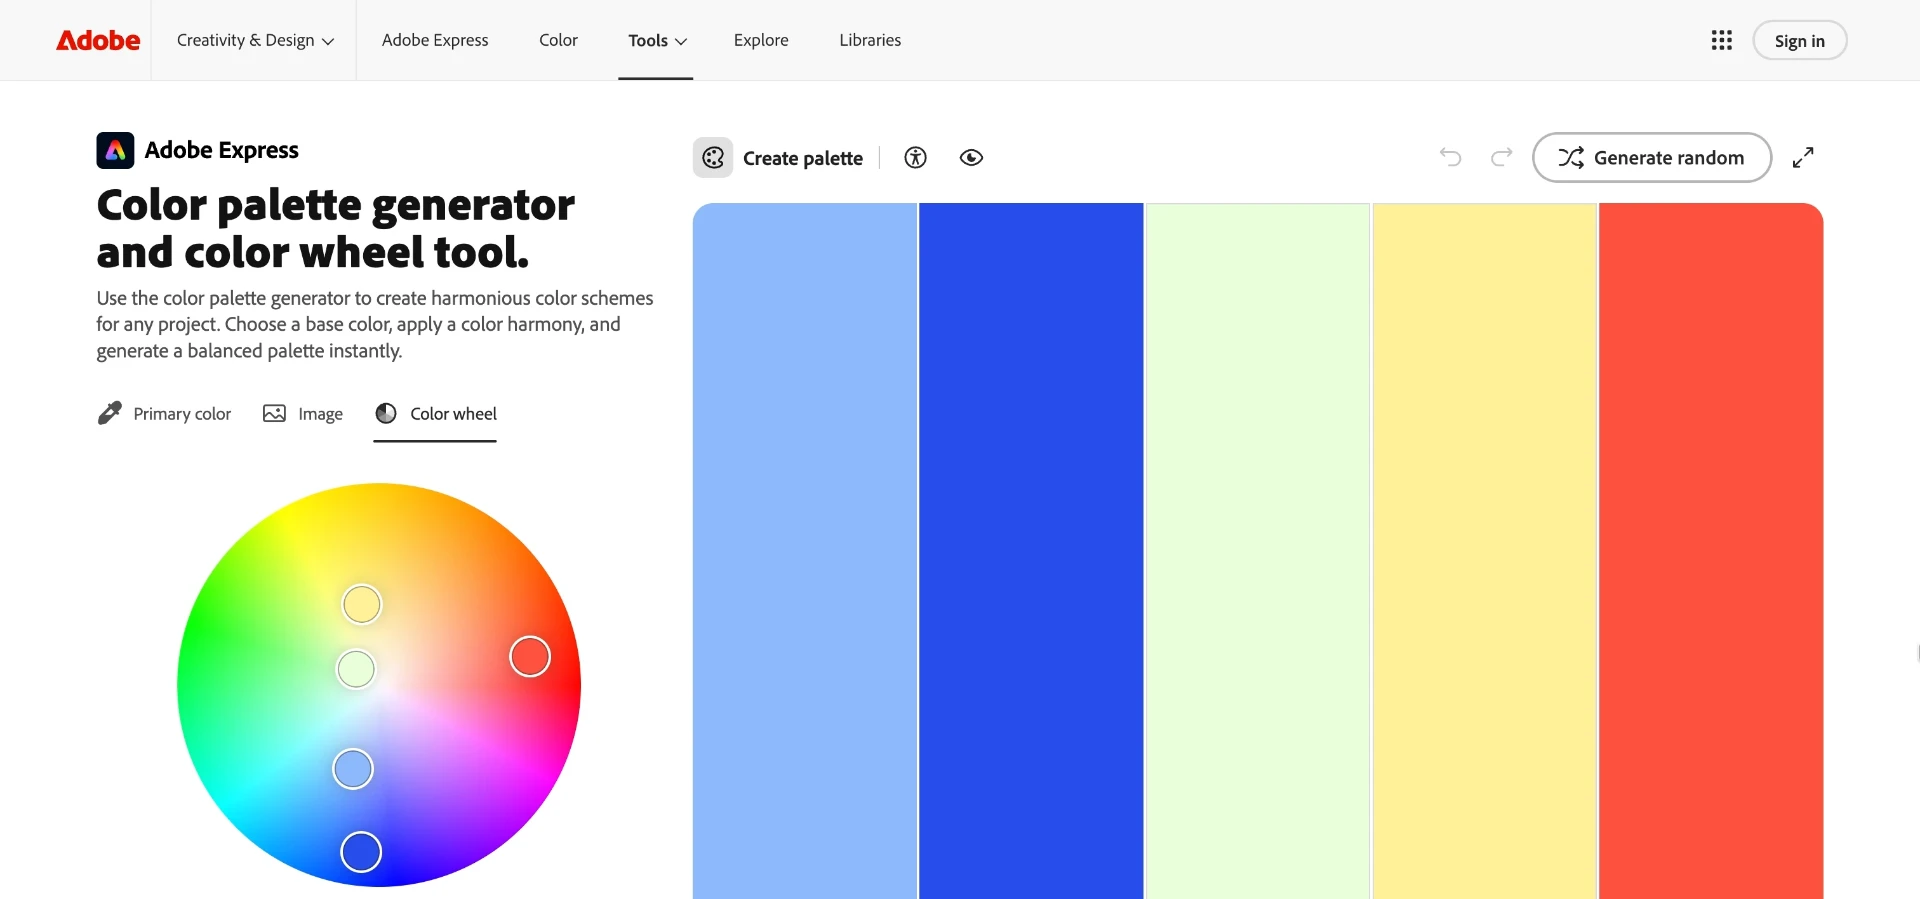
Color tools built for design work can help you settle on tones before writing them into a prompt.
Common Prompting Mistakes That Hurt Results
Most disappointing redesigns trace back to one of a handful of repeat mistakes.
Catching these early saves several wasted attempts.
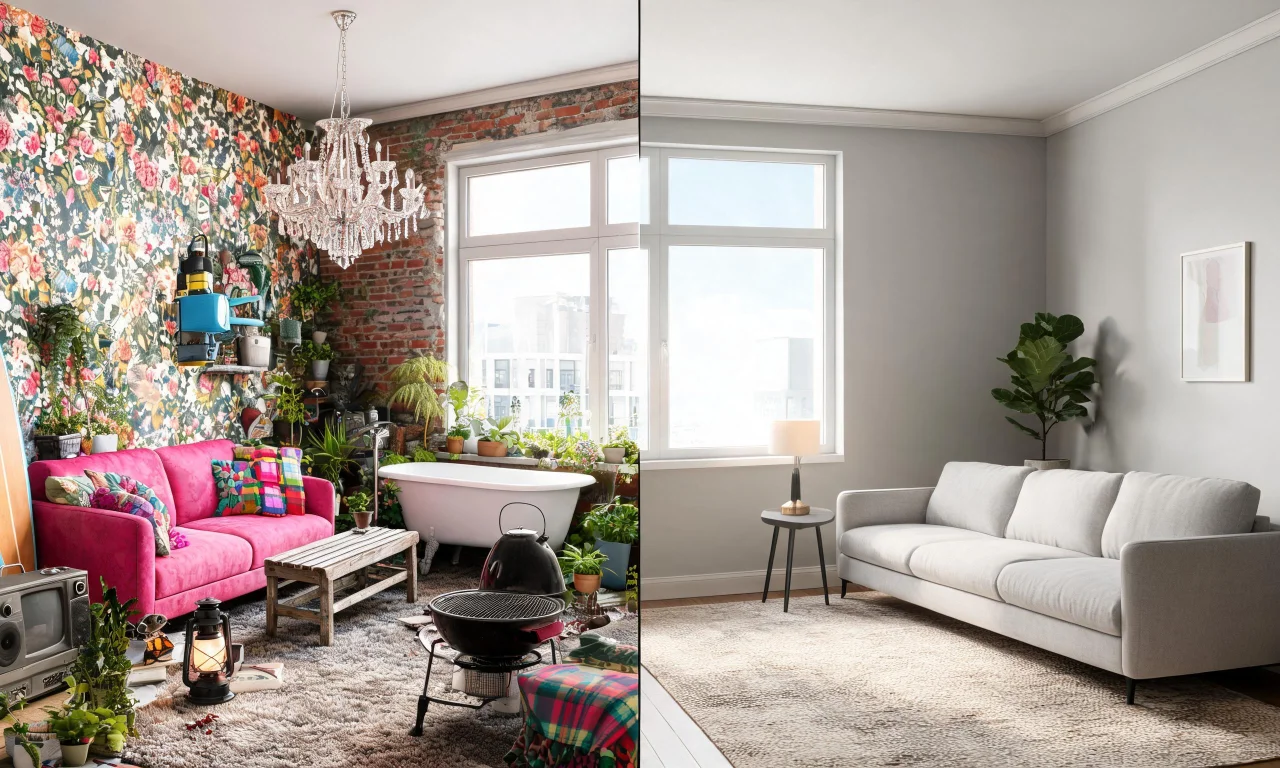
- Naming a style without any mood or material detail
- Listing too many colors, which confuses the palette
- Asking for structural changes the tool is not built for, like moving walls
- Forgetting to mention what should stay exactly as it is
- Using an empty room prompt on a furnished space, or the reverse
If your room is empty rather than furnished, that calls for a different workflow entirely.
The AI Empty Room Generator is built specifically for that starting point, while AI Room Redesign is meant for spaces that are already furnished.
Pro tip
If a result looks messy or unfocused, cut your prompt in half. Overloaded prompts often confuse the model more than short ones.
Refining Outputs With Follow-Up Prompts
A first result rarely needs a full restart, it usually just needs one adjustment.
Follow-up prompts let you target a single element without losing what already works.
A simple refinement workflow
- Identify the one thing that feels off, not everything at once
- Write a short, specific correction, like "make the wood tones warmer"
- Apply it and compare against the previous version
- Repeat for the next element, one at a time
Small, sequential edits tend to hold onto the parts of the room you already liked.
Note that exact furniture placement or precise measurements are not something these prompts can guarantee.
Quick Prompt Cheat Sheet to Save and Reuse
Once you find a prompt structure that works, save it as a template for every future room.
A reusable formula saves time and keeps your results consistent across projects.
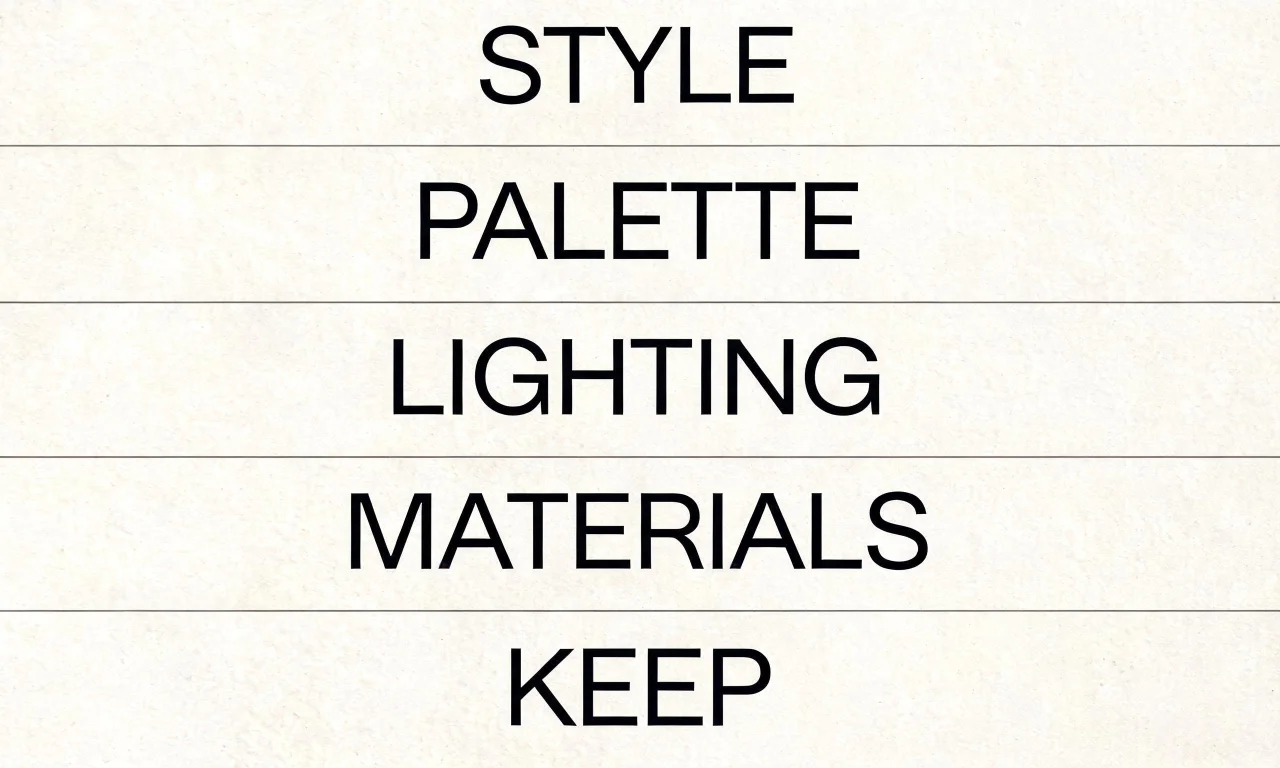
- Style: [specific style name], [one mood word]
- Palette: [two to three dominant tones]
- Lighting: [time of day and light source]
- Materials: [two key textures or finishes]
- Keep: [anything fixed you don't want changed]
Browse the community gallery for real examples of well-structured prompts in action.
For more prompt breakdowns and room-by-room guides, the blog is a good next stop.
You can also compare every option on the AI design tools page before starting a project.