Small rooms punish bad decisions fast. One oversized sofa or the wrong paint tone and the whole space feels smaller, not cozier.
If you have ever stood in a cramped bedroom wondering where to even start, you already know the problem. This guide walks through exactly how to use a room to design workflow to test layouts, finishes and furniture before you commit to anything physical.
We will cover the real challenges small spaces create, how to pick the right design approach, a step-by-step prompt walkthrough, and the settings that matter most when square footage is tight.
Key takeaways
- Small rooms fail most often because of scale, not style choices.
- Match your design approach to your budget and how much control you want.
- Clear, specific prompts produce far better AI redesign results than vague ones.
- Adjusting density and palette settings matters more in tight spaces than in large ones.
- Compare before-and-after examples to calibrate expectations before you start.
Challenges of Designing Small Rooms
Small spaces amplify every design mistake. What reads as "cozy" in a magazine photo can feel claustrophobic in real life.
Furniture Scale and Proportion
A single piece that is too deep or too tall can dominate an entire small room. Proportion mistakes are the most common reason redesigns fail.
Light, Color and Sightlines
Dark palettes and heavy window treatments shrink a room visually. Sightlines from the doorway matter more here than in larger spaces.
Storage vs Open Feel
Small rooms need storage, but visible storage competes with open, airy feel. Balancing the two is the core tension in almost every compact layout.
Pro tip
Photograph your room from the doorway before redesigning anything. That sightline is what most visitors judge first.
Choosing the Right Room to Design Approach
There is no single correct way to redesign a small room. The right room to design approach depends on your budget, timeline and how much creative control you want.
DIY Sketching and Moodboards
Best for hands-on homeowners who enjoy the process and have time to experiment. This approach costs nothing but your own hours.
You sketch layouts, pin swatches and test furniture positions manually, often with painter's tape on the floor to mark boundaries.
The limitation is obvious: you cannot see a finished result until you actually buy and place items.
Hiring a Professional Designer
Best for owners who want expert judgment and are willing to pay for it. Interior designers typically charge hourly consulting fees or flat per-room packages in most US and UK markets, and rates vary widely by region and experience.
A designer visits, measures, proposes a scheme and often manages sourcing and installation for you.
The tradeoff is cost and lead time. Full projects can take weeks from first consultation to installed furniture.
AI Room Design Tools
Best for anyone who wants to preview multiple styles fast, without committing to a purchase or a contractor. This is where a room to design tool like vividoo fits.
You upload a photo, describe or select a style, and the tool generates a redesigned version of your actual room in minutes.
The main limitation is that results are visual previews, not guaranteed floor plans or shopping lists. Use them for direction, not final measurements.
Gathering Inspiration Before You Prompt
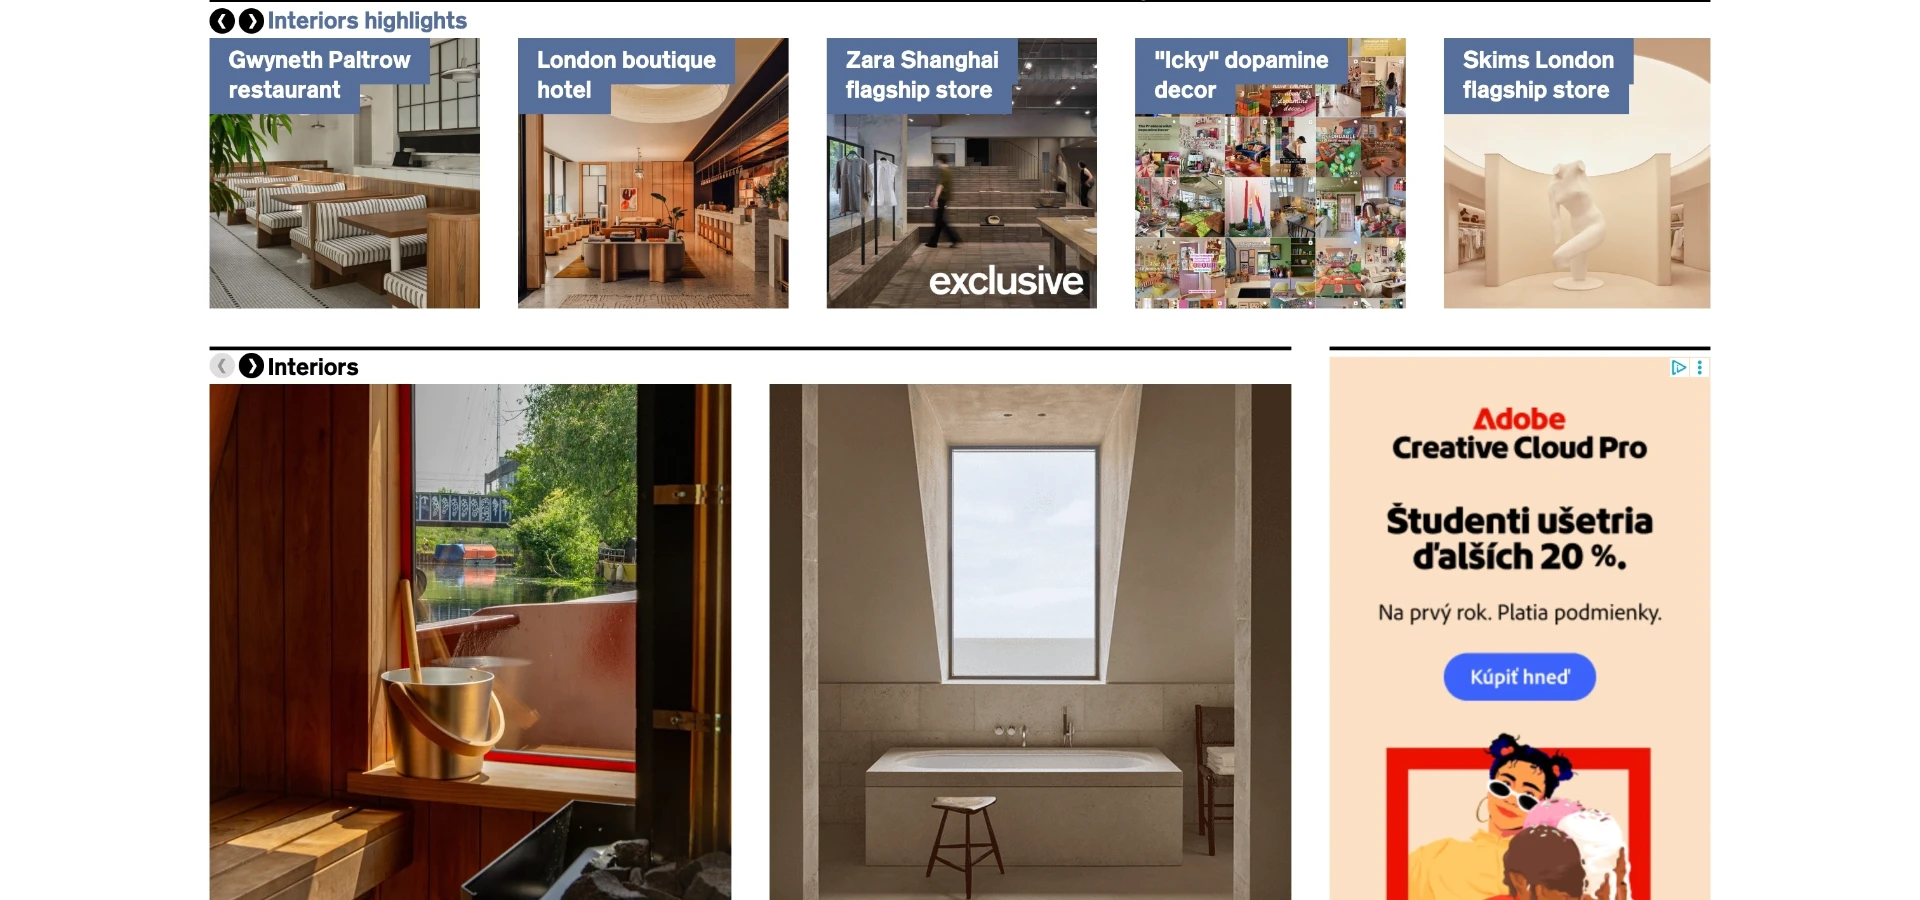
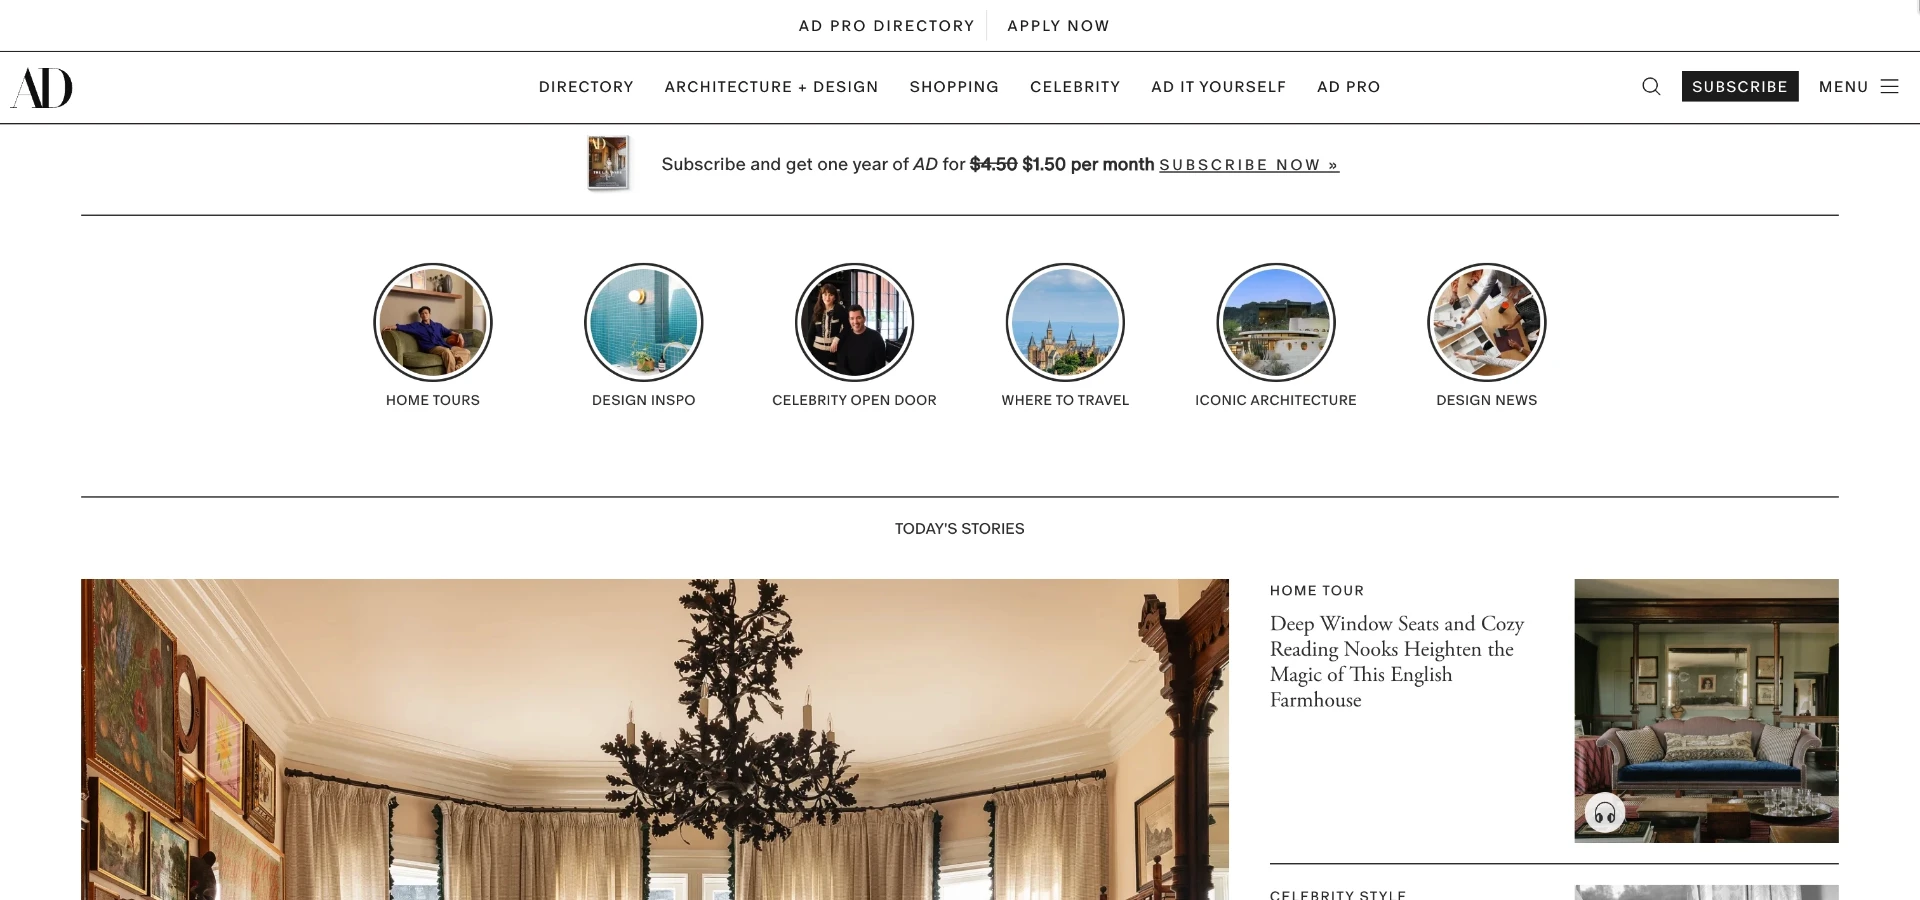
Before opening any design tool, it helps to know what look you are chasing. Design publications like dezeen and architecturaldigest regularly feature small-space case studies worth screenshotting for reference.
| Approach | Time to First Concept | Control Level | Best For |
|---|---|---|---|
| DIY sketching and moodboards | Days to weeks | Full manual control | Hands-on homeowners with time to spare |
| Professional designer | 1-3 weeks for first proposal | Shared, expert-led | Owners wanting a managed, polished result |
| AI room design tool | Minutes per concept | High, iterate freely | Fast previewing before buying or renovating |
For most small-space projects, a hybrid approach works well. Use an AI tool to narrow down direction, then bring the chosen concept to a contractor or shop with confidence.
Step-by-Step Prompt Walkthrough
Here is a practical sequence for redesigning a small furnished room using AI Room Redesign.
- Take a well-lit photo from the doorway, capturing as much of the room as possible.
- Upload the photo and select the room type so the tool understands the space correctly.
- Choose a style, for example "Scandinavian minimalist" or "warm modern," rather than a vague term like "nice."
- Add specific detail to your prompt, such as "light oak floors, pale walls, compact seating."
- Generate the redesign and review it against your original sightline photo.
- Refine the prompt if scale looks off, adding words like "smaller sofa" or "slim console table."
- Save the versions you like and compare them side by side before deciding.
If the room is currently empty, start instead with the AI Empty Room Generator workflow, which furnishes a bare room from scratch.
Want to test flooring or wall finishes without changing the furniture layout at all? That is a job for AI Room Renovation instead.
Settings to Adjust for Tight Spaces
Small rooms need different settings than a spacious living room or open-plan kitchen. A few adjustments make a noticeable difference.
- Style intensity: lower it slightly so patterns and busy textures do not overwhelm a compact footprint.
- Furniture density: ask for fewer, larger pieces rather than many small ones scattered around.
- Color palette: lighter, warmer tones generally read as more spacious in a generated preview.
- Room type accuracy: always confirm the tool has correctly identified the room type before generating, since misidentification skews proportions.
- Multiple angles: generate from more than one photo angle if the room is irregularly shaped.
Pro tip
Generate at least three style variations before deciding. Small rooms often look completely different with a two-shade lighter wall color.
If your starting point has visible clutter, run virtual decluttering guidance from the vividoo blog style advice first, since a cluttered base photo throws off every redesign that follows.
Before-and-After Style Examples
Seeing real transformations helps calibrate what to expect from a room to design workflow. Here are three common small-space scenarios.
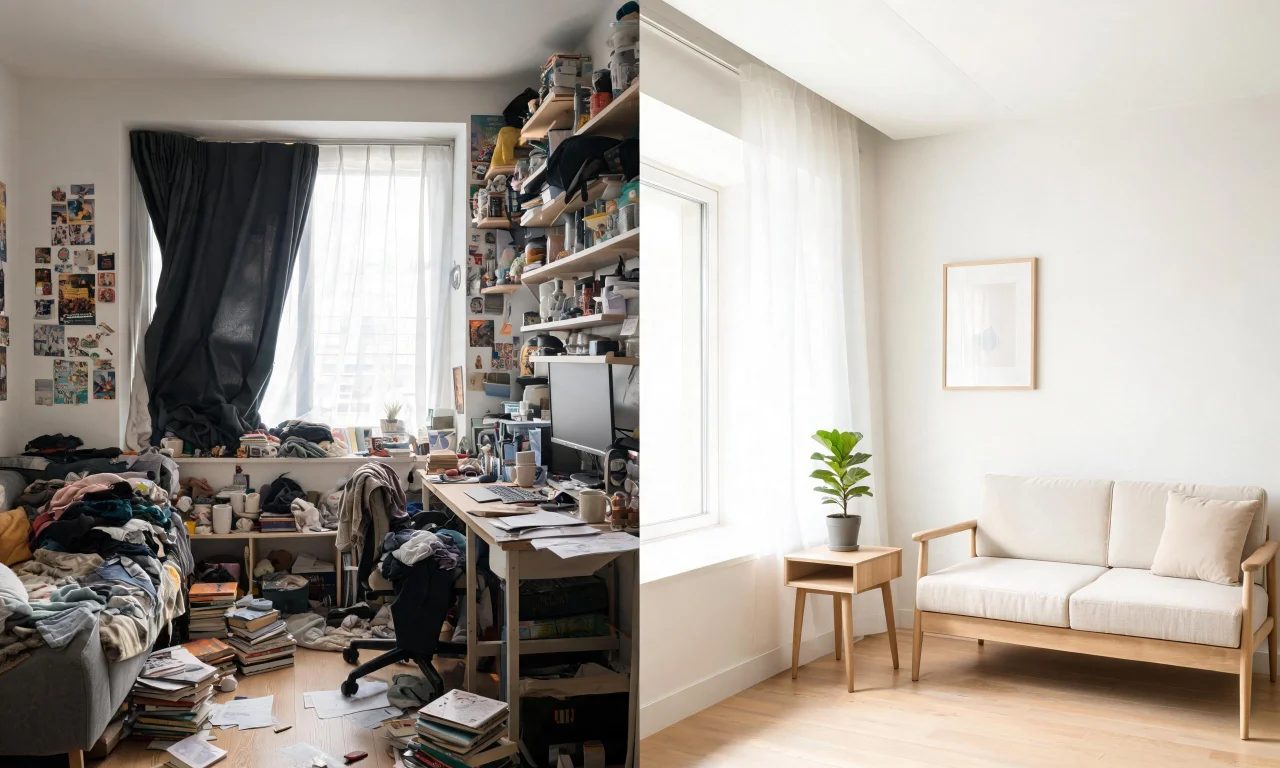
Studio Apartment Living Corner
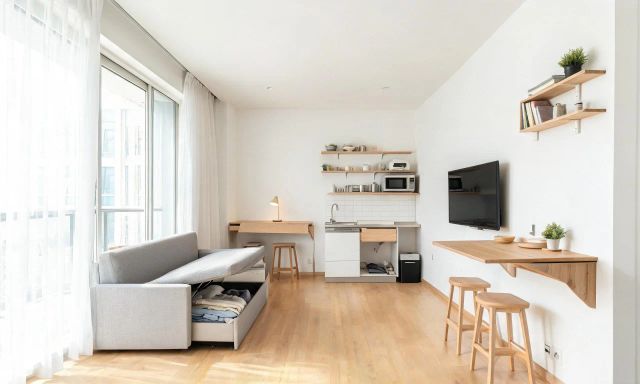
A cluttered studio corner with mismatched furniture becomes a cohesive Scandinavian-style zone after a redesign pass with lighter tones and fewer pieces.
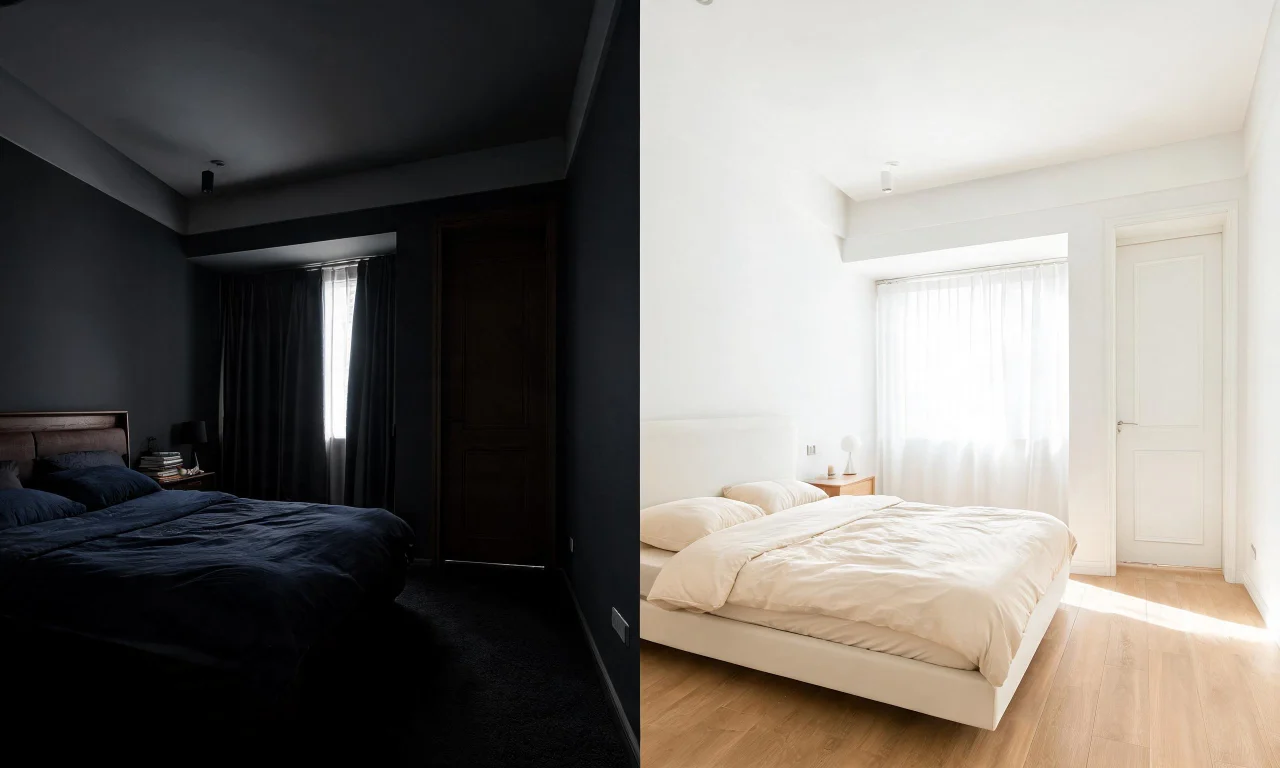
Small Bedroom With Low Ceiling
A dark, heavy-curtained bedroom is redesigned with pale walls, a low-profile bed frame and sheer curtains to visually raise the ceiling line.
Compact Home Office Nook
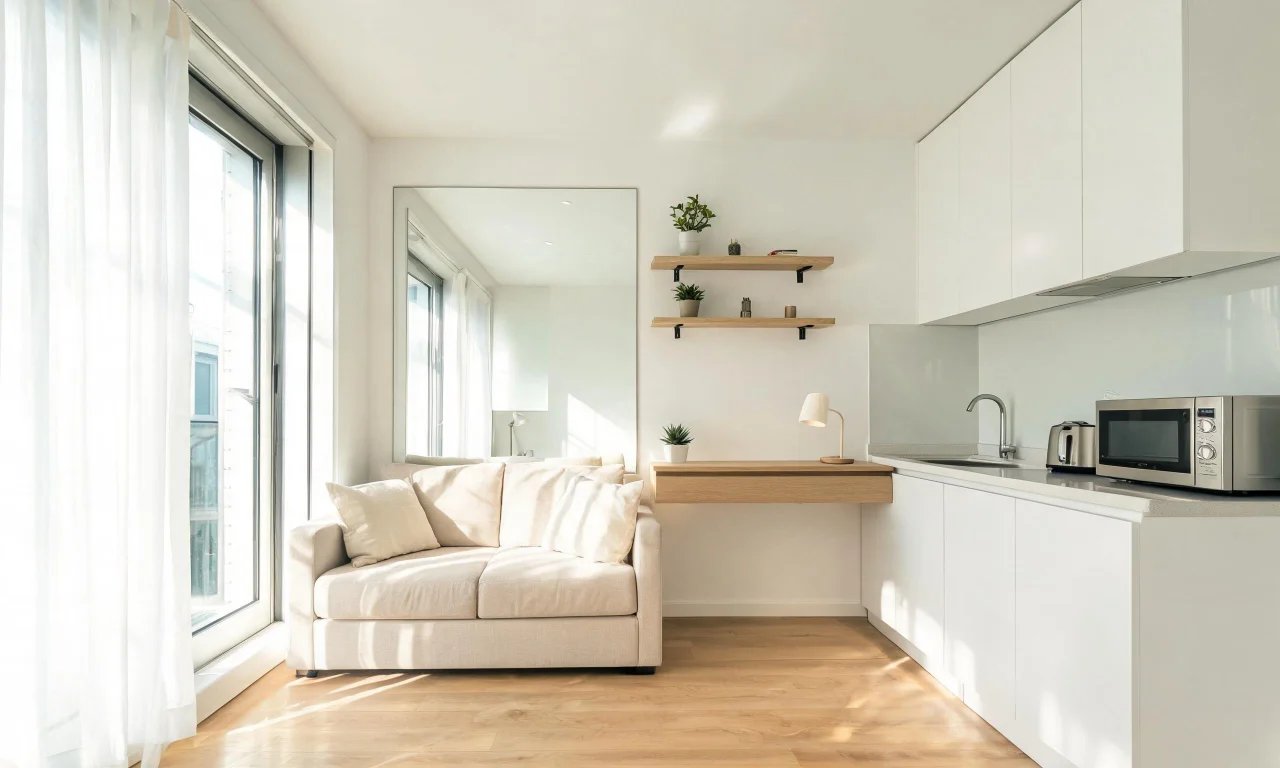
A boxy, empty office nook is furnished virtually with a slim desk and wall-mounted shelving, using an empty-room furnishing pass rather than a restyle.
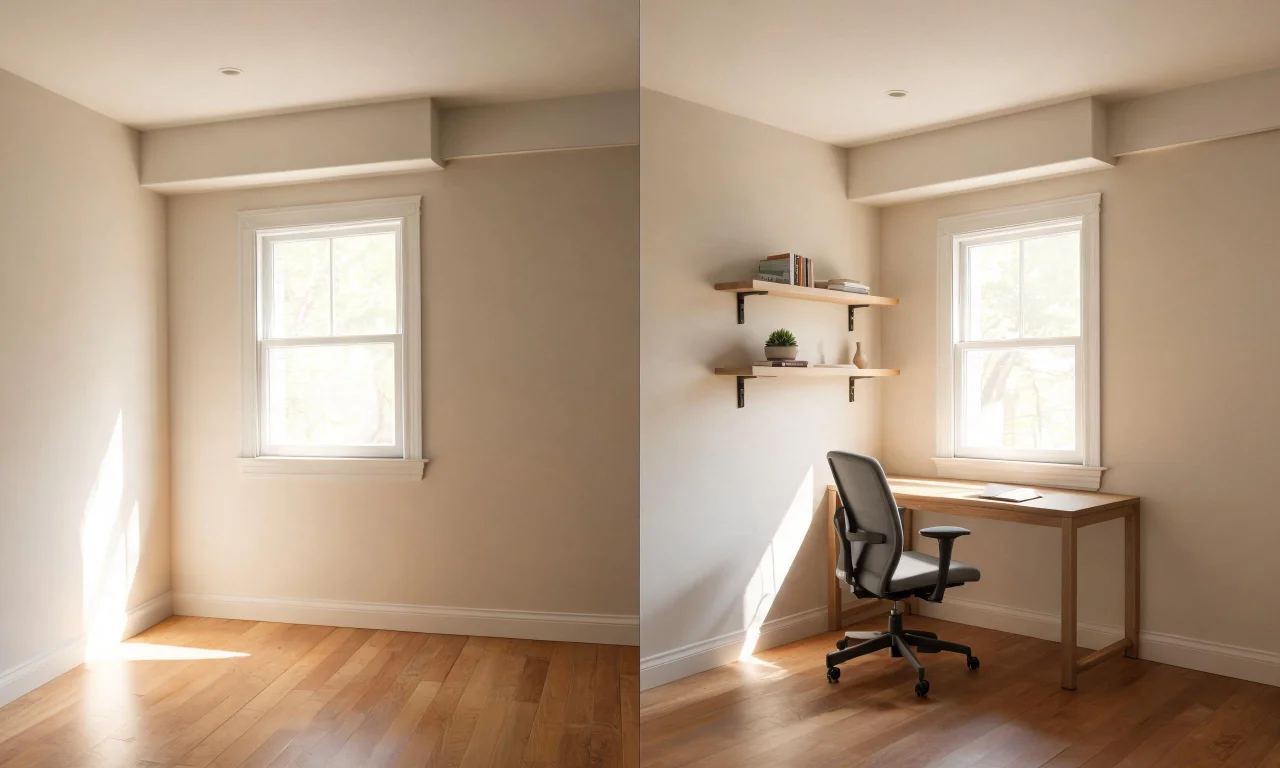
Browse the community gallery for more real submitted small-room transformations across different styles.
Putting It All Together
Small room makeovers succeed when you match the right tool to the right stage of the project. Inspiration first, then quick AI previews, then real-world sourcing.
Explore the full range of AI design tools to find the workflow that fits your specific room, whether it is furnished, empty, or mid-renovation.
Check the pricing page to see which plan matches how often you plan to redesign spaces.